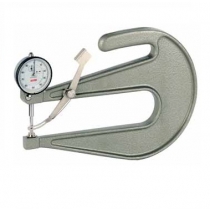
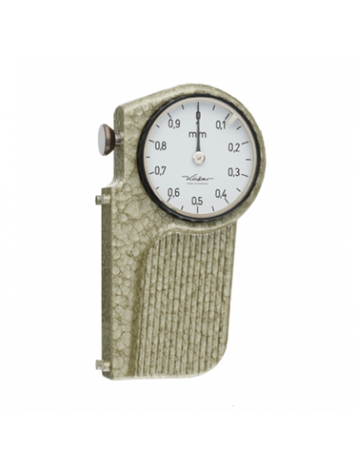
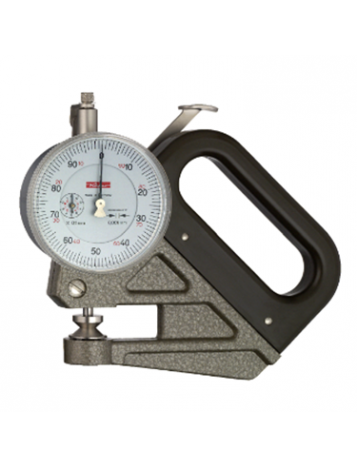
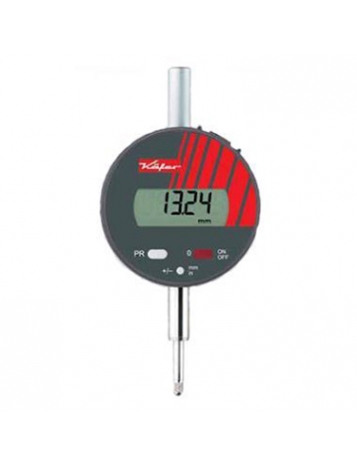
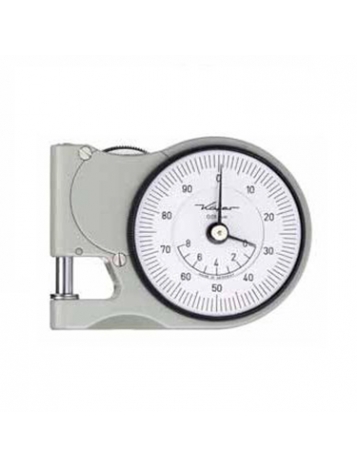
Dial Thickness Gauges J 100 and J 200 differ only by their jaw depth and by the kind of lifting device. On model
J 100 the latter is positioned on top of the Dial Gauge. On the Dial Thickness Gauge J 200 the lifting lever is
attached to a pin through the measuring spindle. Because of the use of a reinforced frame for J 200 this model
can just as the model J 200/30 only be supplied as portable instrument. A stand is available on request.
The Dial Thickness Gauge J 200/30 is supplied with the same jaw as model J 200. The Dial Gauge has how -
ever a measuring range of 30 mm and a second concentric hand. This concentric hand allows easy and safe
reading of the Dial Gauge.
Dial Thickness Gauge J 200
Reading 0.01 mm
Range 10 mm
Range per revolution 1 mm
Bezel-Ø 58 mm
Depth of jaw 200 mm
Accuracy according to DIN 878
hysteresis fu however not checked
Standard contact point form c
Optional contact points forms a, b, d or e
Request A Quote
To receive further information on Dial Thickness Gauge J 200, please complete the following form. We will reply as soon as possible
Sorry, this product does not have video.

